I've (hopefully) learned three things since my last post:
-I get more involved in weddings than I think I will be
-I underestimate how long wedding projects will take
-I can't write blog posts and work on wedding projects in the same time period
-I underestimate how long wedding projects will take
-I can't write blog posts and work on wedding projects in the same time period
This wedding was pretty special, so I'm not sorry for the length of time I've spent ignoring this blog in favor of working on wedding stuff. You'd probably feel that way too if your mom was getting married! Did you guys catch that? MY MOM GOT MARRIED! It was definitely a special weekend spent with family to celebrate and cherish my mom and her new husband. Also, it's kinda weird (in an amusing way) that my mom no longer has the same last name that I do. She went from being a Mrs. D to a Mrs. H- at least we're still in the same half of the alphabet...
I volunteered to make the wedding cake for my mom's wedding. She had made a Pinterest board with ideas she liked that included some wedding cakes, so I tried my hardest to go with a style she liked... kinda. The requirements were two tiers, coconut cake for top tier, marble cake for second tier, no real sea shells. Really, that was it.

I realized as I was mixing the blue frosting that none of the pictures my mom had on her Pinterest board had blue frosting, they were mostly neutrals, cremes or white. By that point I had already mixed the whole batch of frosting blue and wasn't about to make a whole new batch just to waste blue frosting. Also, I wanted to make it totally beachy (which was in line with her theme and pictures) and what's more beachy than the ocean?

I used crushed graham crackers for the sand on the top of the second tier and on the cake board. I hadn't intended to dye my second tier frosting to match so closely with the "sand" but as far as frosting tints go copper looks more like salmon and brown just made it muddy-ish so golden yellow was added and voila- sand colored frosting was born.

The sea shells were made using candy molds and those meltable candy chip thingies (not white chocolate like my family kept telling one another). I used shimmer pearl dust in gold, bronze, red and blue and a (new) paint brush to color them. I tried to make each one unique and with different color combos. While I thought some of them looked funny on their own, thankfully they looked good on the cake.

I knew I wanted to try to make the top tier look like water but I couldn't figure out how at first. I had frosted the cake in plain blue but made it textured instead of smooth to emulate waves. I then attempted to pipe a wave design on top of the bumpy blue frosting and it looked hideous. I was being lazy in deciding to swirl the white hideous piped frosting in with the blue instead of taking it off, and that's how I ended up with my ocean. I'm grateful that what could've been a disaster ended up being just what I wanted.

I tried piping a shell motif onto the sandy frosting, but again it didn't work. I didn't like it and here's a secret- I can't draw a straight line, let alone cut one, walk one or pipe one! So I carefully scraped that off and left it alone while I thought of something else. The night before the wedding (in the hotel room, of course) I decided on these little scrollie things and dots. Sugar pearls (or whatever you call them) seemed to be appropriate and added a nice touch.

I finished coloring the sea shells the morning of the wedding (yeah, I brought a ton of cake stuff with me to the hotel cuz I couldn't finish it before I left if I was to arrive in time to join in for mani/pedi's). My nieces were in the same hotel room with me and had a little fight over who got to blow the extra dust off the sea shells (while I held them out of spitting distance, of course). The fight ended quickly and without any casualties, so it was more cute than anything else.

Driving three plus hours with a wedding cake frosted and assembled in my car was nerve wrecking. I read some tips about transporting a cake on Sweetapolita that I took a chance with and were really helpful (although I doubt she meant for her tips to be used on that long of a drive). On the bottom of my passenger side floor, I used the rubber grip stuff then placed my cake (which had a dowel all the way through both tiers as well as dowels on the bottom to support the top tier) on the floor on top of the rubber grip. The cake was too large to just be able to place down onto the floor, I had to tilt it at an angle to make sure it cleared the bottom of the glove box, but it held steady. I used a large black trash bag tucked into my glove box and draped over my passenger seat to prevent the sun from shining on the cake. I had my A/C on the whole time, on either the feet only setting or feet and dashboard depending on how cold my feet were getting. The black trashbag makes a nice insulator and keeps it wonderfully cool where the cake is. I will definitely be using these tips again!

The top tier is a three layer, 10 inch coconut cake. I had to try four different recipes to get a coconut cake that had a nice texture and tasted like coconut. I actually ended up modifying the recipe quite heavily, to the point where I'm pretty sure it's a new recipe now.

The bottom tier is a three layer, 14 inch, vanilla/chocolate marble cake. I only had one 14 inch cake pan so I had to wash and re grease/flour it in between baking each layer. While pouring my last layer into my cake pan, I noticed I had only greased it, not floured it... UGH! I poured the cake batter out, re-washed it AGAIN and actually floured it after I greased it this time. I decided to take a chance with the cake batter I had poured out of the pan, thinking that a little extra grease (shortening) wouldn't hurt it, so I poured it back in. It baked fine, it just didn't look marble-y. Oh well.

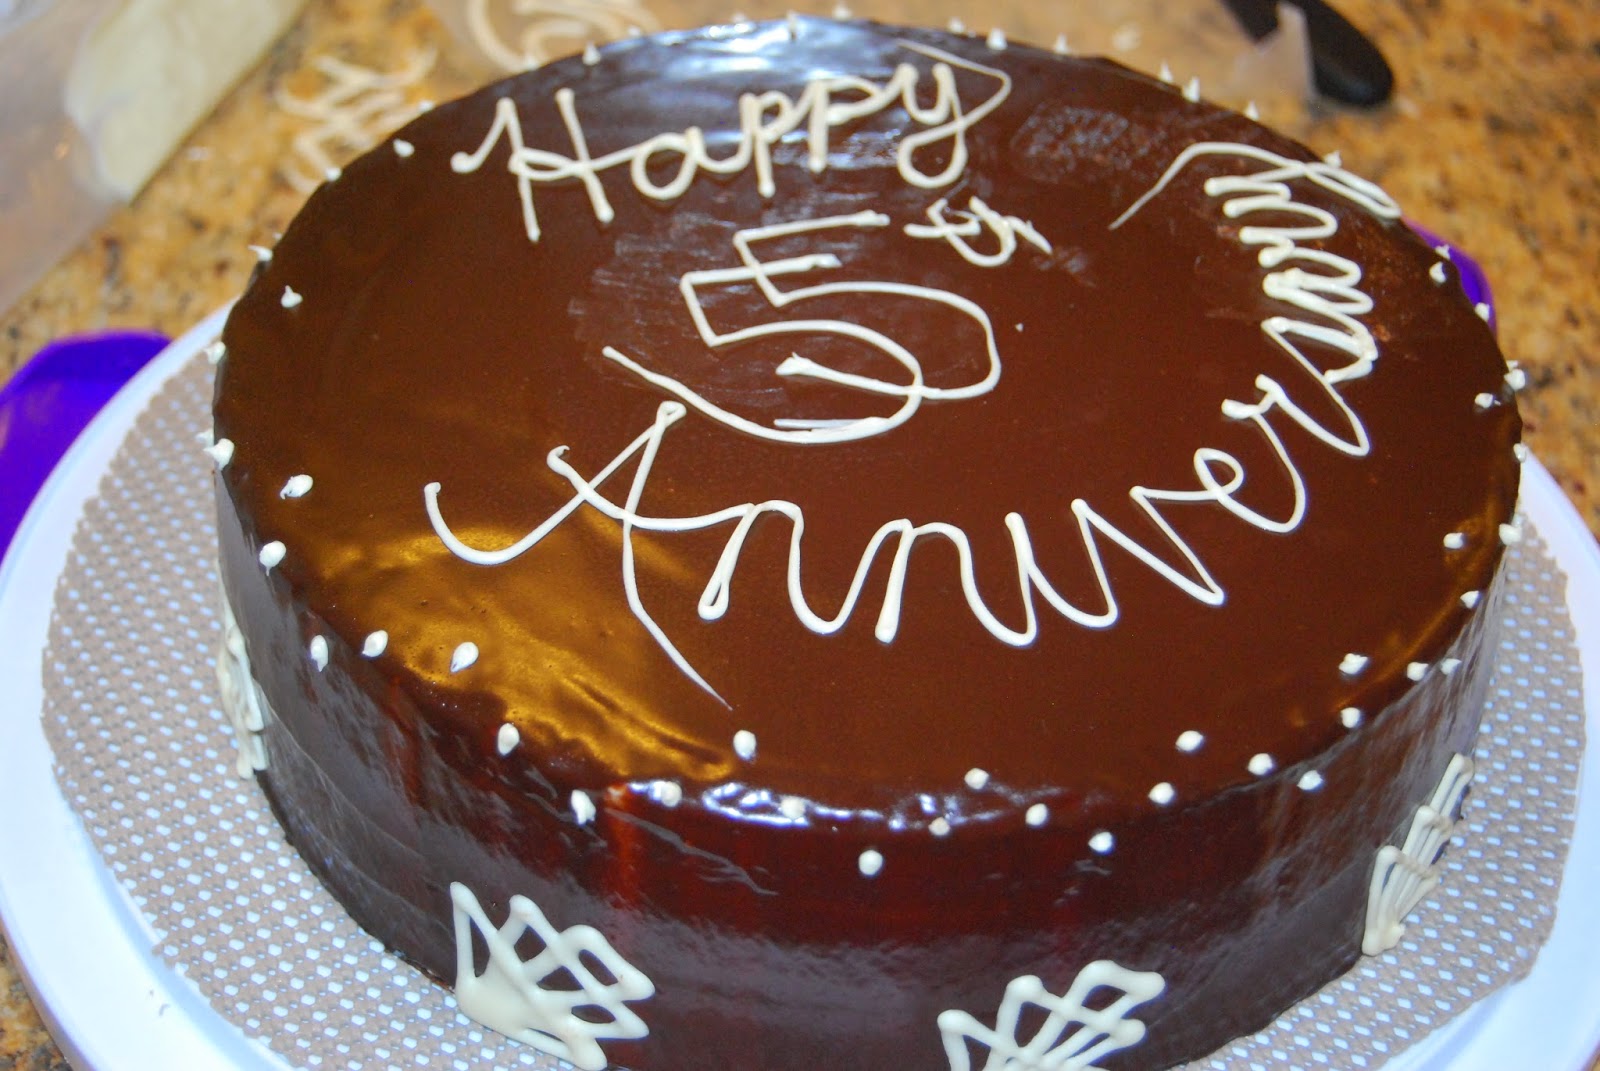
It happened to be my grandparents' 55th wedding anniversary on the day my mom got married, so one of my aunts asked if I would make them their own anniversary cake. My grandma is gluten free, so this cake had to be gluten free for her and chocolate for my grandfather. I found this great recipe on A Girl Defloured. Actually, I tested it on my Bible Study, not telling them it was gluten free. They all raved about it (then laughed after I told them it was gluten free) so I decided I had a winner here. I even used the recipe with normal flour for my chocolate part of the marble cake then adapted it more to be my coconut cake. I covered the stacked cake with a crumb coat, then after it set I poured chocolate ganache over the whole thing (since ganache is pretty stable in warm weather once set). I decorated it with temperamental white chocolate (my fault, i melted it in a pastry bag because I didn't have a bowl) and called it good. The people who tried all three different cakes agreed that this one was the best. Now I just need to find a vegan/gluten free cake recipe for my sister's birthday in a few weeks!
Because I had such a hard time finding a coconut cake recipe (most of them ended up being white cake with shredded coconut for decoration), I thought I would share what I ended up using. So here's my recipe for Coconut Cake:
Coconut Cake
- 1 1/2 cups Sugar
- 2 cups Flour (I used AP)
- 1/2 cup Finely Chopped Coconut
- 1 1/2 tsp Baking Powder
- 1 1/2 tsp Baking Soda
- 1 tsp Sea Salt
- 2 eggs
- 1 cup Coconut Milk (I used canned light coconut milk since it's thinner than regular canned coconut milk)
- 1/2 cup Vegetable oil
- 2 tsp Coconut extract
- 1/2 tsp Vanilla Extract
- 1 cup Boiling Water
Preheat oven to 350 degrees (Fahrenheit), grease and flour (or spray) your cake pans (two 8 or 9 inch round pans). Combine the first 6 ingredients (sugar, flour, coconut, b.p., b.s., salt) in a bowl. Combine the eggs, coconut milk, oil and extracts in a separate bowl, mixing so the eggs are beaten lightly. Add your egg/milk mixture to you flour mixture and combine until there's no more flour visible and mostly smooth (the coconut is going to add texture/lumps). Pour your hot/boiling water into batter and mix/whisk until it's all incorporated. Divide your batter between your cake pans and bake for 30 mins, or until top is golden yellow (NOT brown) and tooth-pick comes out clean. Let rest in cake pans for 10 minutes before dumping out onto a cooling rack.
I found that assembling and frosting the cake, then letting it sit overnight (in the fridge or covered in a cake dome) lets the coconut flavors develop better/deeper than they would if you were making and eating the cake the same day.
No comments:
Post a Comment